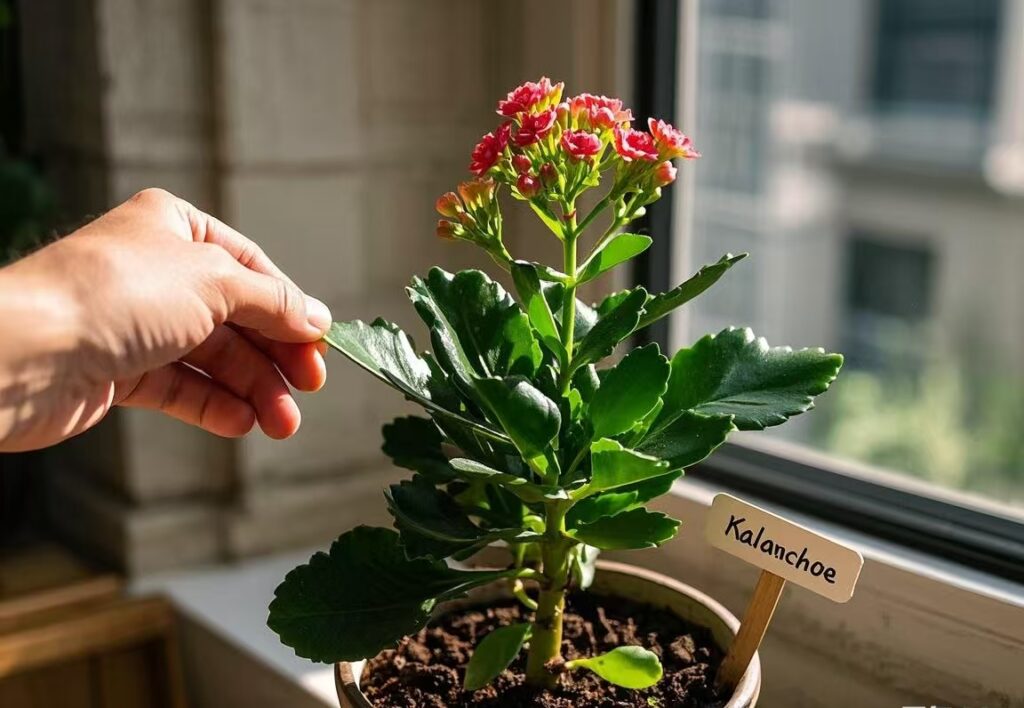
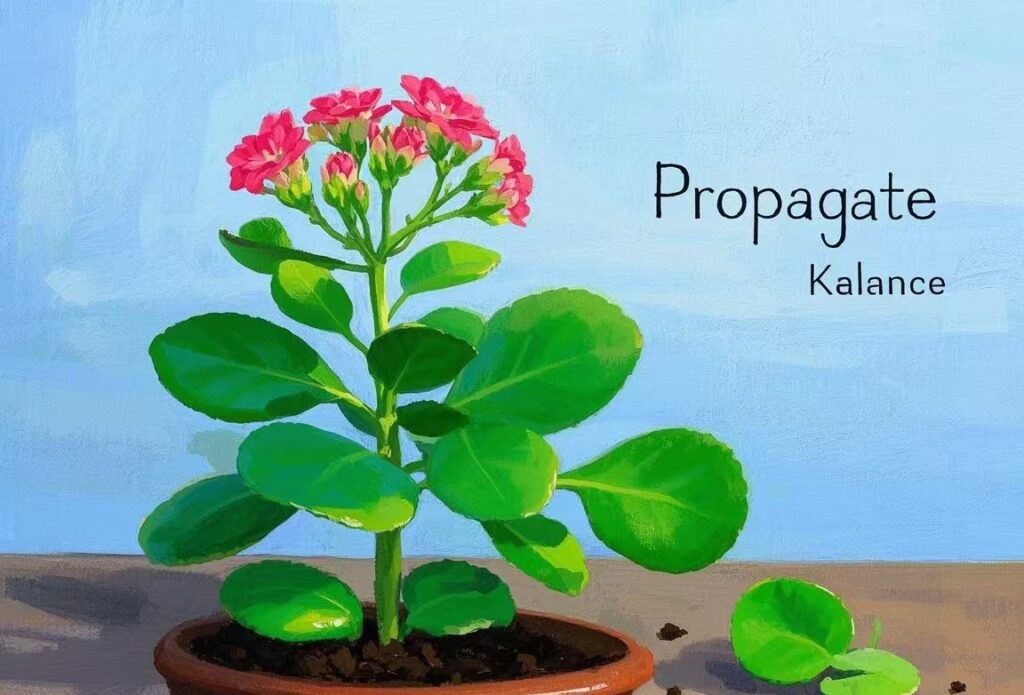
Kalanchoe plants are known for their vibrant, long – lasting flowers and attractive foliage. They are popular houseplants, and the good news is that they are relatively easy to propagate. Whether you want to expand your collection, share plants with friends, or simply experiment with plant propagation, learning how to propagate kalanchoe can be a rewarding experience.
Understanding Kalanchoe Plants
Kalanchoe belongs to the Crassulaceae family and encompasses a wide variety of species. These plants are native to Madagascar and tropical regions of Africa. They are succulents, which means they store water in their thick, fleshy leaves and stems, making them well – adapted to arid conditions. Kalanchoes come in different shapes and sizes, with some having small, rounded leaves and others having larger, more elongated foliage. Their flowers can be white, pink, red, or orange, adding a splash of color to any indoor or outdoor space.
Types of Kalanchoe Propagation
Leaf Cuttings
- Selecting the Right Leaf
Choose a healthy, mature leaf from the kalanchoe plant. Look for a leaf that is free from any signs of disease, pests, or damage. The best time to take leaf cuttings is during the plant’s active growing season, which is typically in spring or summer. Using a clean, sharp pair of scissors or a knife, carefully cut the leaf from the stem, making sure to get a clean cut. - Preparing the Cutting
Once you have the leaf, let it dry for a day or two. This allows the cut end to callus over, which helps prevent rotting when the cutting is planted. You can place the leaf in a dry, shaded area during this time. - Planting the Leaf Cutting
Fill a small pot with a well – draining potting mix. A mix specifically formulated for succulents, which usually contains a combination of perlite, sand, and peat moss, is ideal. Make a small hole in the soil using a pencil or your finger. Gently place the callused end of the leaf into the hole, burying it about 1 – 2 centimeters deep. Press the soil gently around the leaf to hold it in place. - Caring for the Cutting
Place the potted leaf cutting in a bright, indirect light location. Avoid direct sunlight, as it can be too intense for the young cutting and may cause it to dry out or burn. Water the soil sparingly, only when it has completely dried out. Overwatering is one of the main causes of failure in leaf – cutting propagation, as it can lead to rotting. In about 2 – 3 weeks, you should start to see small roots and new plantlets forming at the base of the leaf.
Stem Cuttings
- Taking the Stem Cutting
Identify a healthy stem on the kalanchoe plant. The stem should be at least 3 – 4 inches long and have several sets of leaves. Using clean, sharp scissors or a knife, cut the stem just below a leaf node. A leaf node is the point on the stem where a leaf is attached. Make sure the cutting has at least 2 – 3 leaf nodes. - Trimming and Drying the Cutting
Remove the lower leaves from the stem cutting, leaving only 2 – 3 leaves at the top. This reduces water loss and directs the plant’s energy towards root development. Similar to leaf cuttings, let the stem cutting dry for a day or two to allow the cut end to callus. - Rooting the Stem Cutting
You can root the stem cutting in either water or soil. If rooting in water, place the cutting in a glass or jar filled with clean water, making sure that at least one leaf node is submerged. Change the water every few days to keep it fresh. After a week or two, roots should start to form. Once the roots are about 1 – 2 inches long, you can transplant the cutting into a pot with well – draining soil.
If rooting directly in soil, follow the same steps as for leaf cuttings. Fill a pot with succulent potting mix, make a hole, and plant the callused end of the stem cutting. Water the soil lightly after planting. - After – care for Stem Cuttings
Whether you rooted the cutting in water or soil, place the potted stem cutting in a bright, indirect light area. Water the soil when it becomes dry, being careful not to overwater. As the cutting grows, you can gradually acclimatize it to more sunlight, but avoid sudden exposure to intense sunlight.
Division
- When to Divide
Division is best done when the kalanchoe plant has become overcrowded in its pot or has developed multiple offshoots. This is usually evident when the plant starts to look crowded, with new growth emerging from the base of the plant in clusters. The best time to divide kalanchoe is during the spring, as the plant is entering its active growing phase. - Dividing the Plant
Carefully remove the kalanchoe plant from its pot. Gently shake off the excess soil to expose the roots. Look for natural divisions in the plant, such as where new shoots have formed with their own root systems. Using your hands or a clean, sharp knife, carefully separate the plant into smaller sections. Each section should have a healthy set of roots and some foliage. - Repotting the Divisions
Plant each divided section in a separate pot filled with well – draining succulent potting mix. Water the newly potted divisions lightly and place them in a bright, indirect light location. Keep the soil slightly moist for the first few weeks to help the plants establish themselves in their new pots.
Tips for Successful Kalanchoe Propagation
- Use Clean Tools
Always use clean, sharp scissors or knives when taking cuttings. Dirty tools can introduce bacteria or fungi to the plant, which can cause rotting or disease. - Provide the Right Environment
Kalanchoes prefer warm temperatures between 60 – 75°F (15 – 24°C). They also need good air circulation, so avoid placing the cuttings in a stuffy or humid environment. - Be Patient
Propagation takes time, and it’s normal for roots and new growth to take a few weeks to develop. Don’t be tempted to over – water or move the cuttings around too much during this time.
In conclusion, propagating kalanchoe plants can be a fun and easy way to expand your plant collection. Whether you choose leaf cuttings, stem cuttings, or division, following these steps and tips will increase your chances of success. With a little care and patience, you’ll soon have new kalanchoe plants thriving in your home or garden.