Orchids are stunning plants, but to keep them thriving, they need to be repotted every couple of years. Over time, their potting medium breaks down, leading to poor drainage and reduced airflow around the roots. If your orchid’s roots are overgrown, mushy, or its potting mix has broken down, it’s time for a refresh!
In this guide, we’ll walk you through when, why, and how to repot your orchid for optimal health and blooming success.
1. When Should You Repot an Orchid?
You don’t need to repot an orchid often, but certain signs indicate it’s time:
✅ Every 1-2 years – The potting medium breaks down over time.
✅ Roots outgrowing the pot – If roots are spilling over the sides or tightly packed.
✅ Poor drainage or soggy roots – If the mix retains too much moisture, leading to root rot.
✅ Yellowing or mushy roots – A sign that the plant needs fresh medium.
✅ After flowering – The best time to repot is when the plant is not in bloom.
🚫 Avoid repotting when in full bloom – It can stress the plant and cause flowers to drop!
2. What You’ll Need for Repotting 🛠️
Before getting started, gather these essential supplies:
- A new pot (1-2 inches larger than the current one)
- Fresh orchid potting mix (bark, sphagnum moss, or a mix of both)
- Sharp, sterilized scissors or pruning shears
- Lukewarm water (to soak the roots)
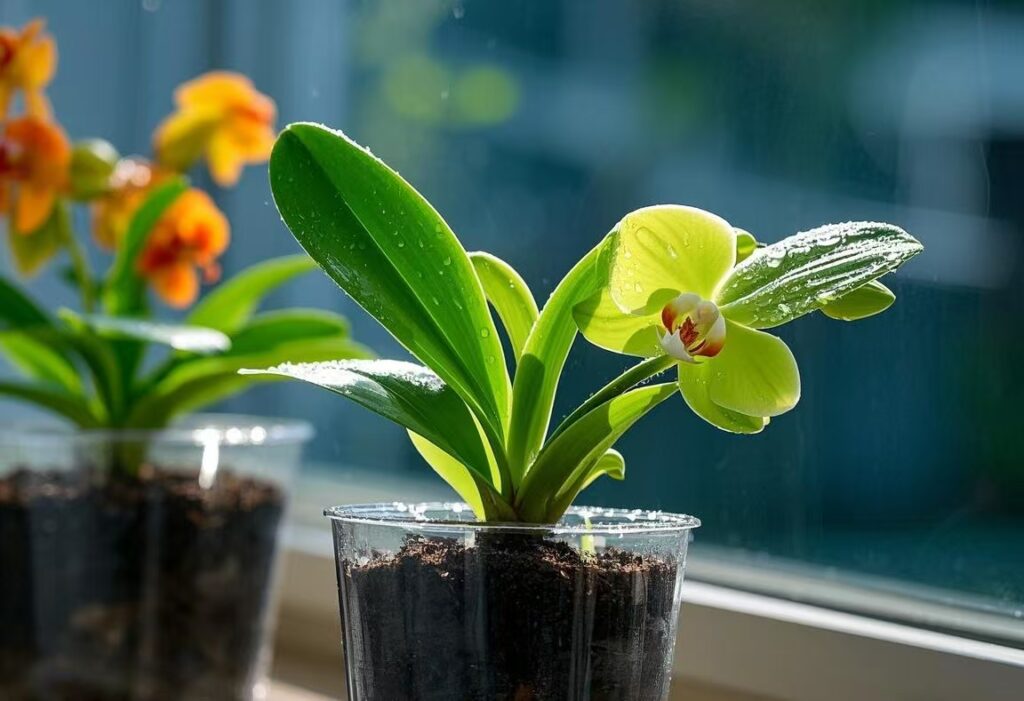
💡 Tip: Choose a pot with good drainage, such as a clear plastic orchid pot with ventilation holes.
3. Step-by-Step Guide to Repotting Orchids
Step 1: Remove the Orchid from Its Pot
Gently hold the base of the orchid and tip the pot sideways. If the roots are stuck, squeeze the sides of a plastic pot or use a butter knife to loosen them.
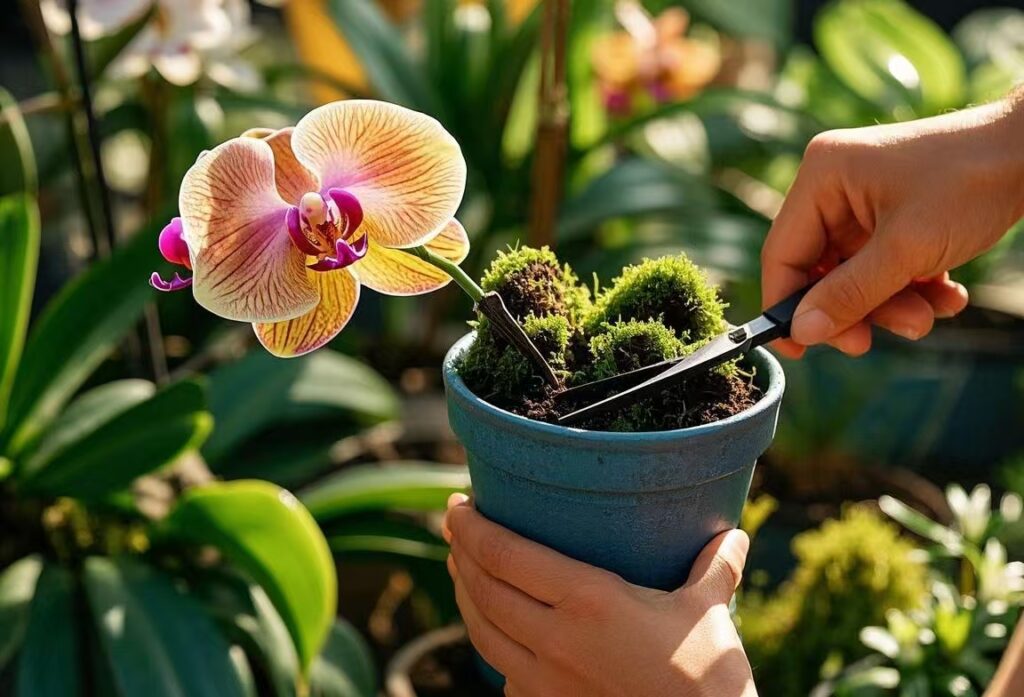
Step 2: Trim Old or Rotted Roots
Shake off the old potting medium and inspect the roots. Use sterilized scissors to remove brown, mushy, or dead roots. Healthy roots should be firm and white/green.
Step 3: Prepare the New Potting Mix
Soak orchid bark or sphagnum moss in warm water for about 30 minutes before use. This ensures it holds moisture better.
Step 4: Place the Orchid in the New Pot
Position the orchid so that its roots spread naturally, and gently fill in around them with the fresh potting mix. Keep the plant at the same height as before—don’t bury the base!
Step 5: Water and Adjust
Give the orchid a light watering and let excess water drain completely. Avoid overwatering for the first week to allow any trimmed roots to heal.
4. Aftercare Tips for a Healthy Orchid
🌞 Light – Keep your orchid in bright, indirect sunlight.
💧 Watering – Water when the potting mix feels dry, usually once a week.
💨 Humidity – Orchids love humidity! Mist them or place a tray of water nearby.
🌱 Fertilizing – Feed with a balanced orchid fertilizer every 2 weeks during active growth.
Final Thoughts
Repotting orchids may seem intimidating, but it’s essential for their long-term health. With the right care, your orchid will adapt quickly and continue to bloom beautifully for years to come.
🌸 Have you repotted your orchid recently? Share your experience in the comments below! ⬇️