Spooling a baitcaster reel with monofilament (mono) line can seem intimidating if you’ve never done it before, but with the right technique, you can get your reel ready for a perfect cast in no time. In this blog, we’ll walk you through the process of spooling your baitcaster reel with mono line, ensuring it’s done correctly to avoid common problems like tangles and backlash.
Tools You’ll Need:
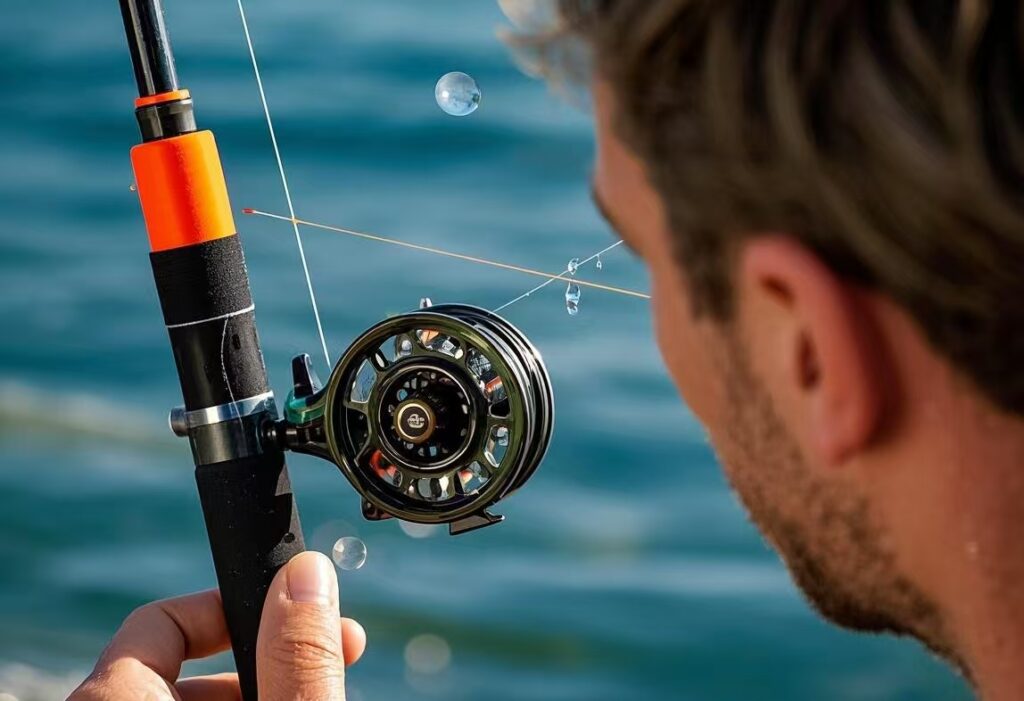
- Baitcasting reel
- Monofilament line
- A spool of line (preferably a fresh spool for the best results)
- A pair of scissors or line cutters
- A pencil or pen (optional)
- A reel or rod for the line spool (optional)
Step 1: Prepare Your Reel and Line
Before starting, make sure your baitcasting reel is clean and in good working condition. Remove any old line if necessary. Then, grab your spool of monofilament line and make sure it’s the right strength for the type of fishing you plan to do.
To avoid twisting the line, make sure the line spool is oriented correctly. You can place the spool on the floor or on a spool holder. For some people, it’s helpful to use a pencil or pen through the spool’s center hole to create a spinning motion as you feed the line into your reel.
Step 2: Attach the Line to Your Reel
Start by tying a simple overhand knot to the spool of the reel. This is where you’ll attach the mono line to the reel. A good knot to use here is the Arbor Knot—it’s simple and effective for this type of reel setup.
Here’s how you can do it:
- Tie the Arbor Knot by tying one loop around the spool.
- Pull the line tight to secure it in place.
- Make sure the knot is snug but not over-tightened.
Step 3: Begin Spooling the Line
Now that your line is secured to the reel, it’s time to start spooling. Begin turning the reel handle slowly to reel in the monofilament line. Be sure to maintain a steady pressure on the line to avoid twists.
While you spool the line onto the baitcaster, it’s important to keep an eye on the tension. The line should feel tight as it’s spooled, but not overly tight, as this can lead to line breaks or difficulty casting later.
Step 4: Keep the Line Tight and Even
As you spool, keep consistent pressure on the line. You can use your thumb and forefinger to lightly apply pressure to the monofilament as it goes onto the spool. This prevents the line from getting too loose or unevenly spooled.
If you notice the line getting loose or bunching up, stop and gently correct it before continuing. Uneven spooling can cause casting issues, including tangles and backlash.
Step 5: Leave Some Room on the Spool
When the reel is nearly full, stop spooling and leave about 1/8-inch to 1/4-inch of space from the edge of the spool. This ensures that the line doesn’t spill over the edge, which can create knots or tangles while casting.
Step 6: Trim the Line and Secure It

Once the reel is spooled, use your scissors or line cutters to trim the excess line from the spool. Make sure the knot is securely tightened, and check that the line is smooth and even across the entire spool.
Step 7: Test and Adjust Tension
Before you hit the water, test the tension of your spool by giving the line a light pull. Adjust the tension on your reel’s drag system if necessary. You want the line to feel firm but not so tight that it causes excessive friction while casting.
Tips for Success:
- Spool from the Top: When spooling mono, it’s important to spool the line from the top of the spool to prevent line twists. If the line comes off the bottom of the spool, it can twist as it goes onto your reel, causing knots and tangles.
- Use Mono Line for Versatility: Monofilament line is a great choice for beginners because it’s versatile, easy to handle, and forgiving when it comes to knots. Plus, it’s perfect for a wide range of fishing conditions.
- Check the Line for Damage: Always check the monofilament line for frays or wear and tear before spooling. If you notice any weak spots, replace the line to ensure a smoother and more effective fishing experience.