Creating with topographical resin molds can be a rewarding and creative process, allowing you to produce intricate, three-dimensional designs with various textures and depths. Whether you are crafting home décor, jewelry, or artistic sculptures, these molds can help you achieve a striking visual effect that captures light and adds a dynamic touch to any project. Let’s dive into how to use topographical resin molds, the benefits they offer, and some tips for getting the best results.
What Are Topographical Resin Molds?
Topographical resin molds are designed with patterns that mimic natural or artificial topographies—think of landscapes, terrains, and unique textures. These molds feature raised surfaces and varied depths that give your creations a sense of dimension and movement. The resin poured into these molds hardens into the shape, preserving the topographical details to create stunning effects.
Materials Needed
- Resin: The primary material for topographical resin molds is liquid resin, which solidifies after curing. You can use epoxy resin, UV resin, or polyurethane resin, depending on the specific requirements of your project.
- Topographical Molds: These molds can be made of silicone or other flexible materials that allow for easy removal of your finished piece.
- Colorants and Inks: You can use resin dyes, alcohol inks, or mica powders to add color and enhance the topographical patterns.
- Mixing Tools: Cups, stirrers, and gloves are necessary for preparing and pouring your resin safely.
- Protective Equipment: Always wear gloves, goggles, and a well-ventilated space while working with resin to ensure safety.
Steps for Using Topographical Resin Molds
- Prepare Your Workspace: Set up your workspace in a well-ventilated area and cover surfaces with protective sheets to avoid resin spills. Make sure you have all your materials and tools within reach.
- Mix the Resin: Follow the instructions on your resin packaging to mix the resin and hardener in the proper ratio. Stir slowly to avoid introducing air bubbles, which can affect the quality of your mold.
- Add Color (Optional): If you want to add some color to your resin, now is the time to mix in dyes or mica powders. You can use different colors to highlight the topographical features, creating a vibrant, multi-layered effect.
- Pour into the Mold: Slowly pour the resin into your topographical mold, filling it to the desired level. Be sure to pour it slowly to avoid trapping air bubbles.
- Remove Air Bubbles: If air bubbles appear, use a heat gun or torch briefly to pop them. Be cautious not to overheat the resin, as this can affect its clarity.
- Let the Resin Cure: Allow the resin to cure fully, typically 24-48 hours depending on the type of resin used. Follow the manufacturer’s curing guidelines for best results.
- Unmold and Finish: Once the resin has hardened, gently remove the piece from the mold. You may need to sand the edges for a smooth finish or add additional layers of resin to achieve a desired depth.
Benefits of Using Topographical Resin Molds
- Unique Aesthetic Appeal: The intricate textures created by these molds offer a stunning visual quality, making them perfect for home décor items, jewelry, or art pieces. The raised designs create captivating reflections of light, adding depth and dimension.
- Versatility: These molds are incredibly versatile, allowing you to experiment with different color combinations, layering techniques, and mixed media to customize your creations.
- Durability: Resin molds produce strong, long-lasting pieces that can withstand wear and tear, making them great for functional items like trays, coasters, or countertops, as well as decorative pieces.
- Personalized Gifts: Topographical resin molds allow you to create personalized items for gifts, such as unique jewelry, customized photo frames, or decorative objects with personal significance.
- Stress Relief: The process of pouring resin and watching it transform into a beautiful, tangible object can be incredibly satisfying. It’s a perfect hobby for anyone looking to unwind and focus on creativity.
Creative Ideas for Topographical Resin Molds
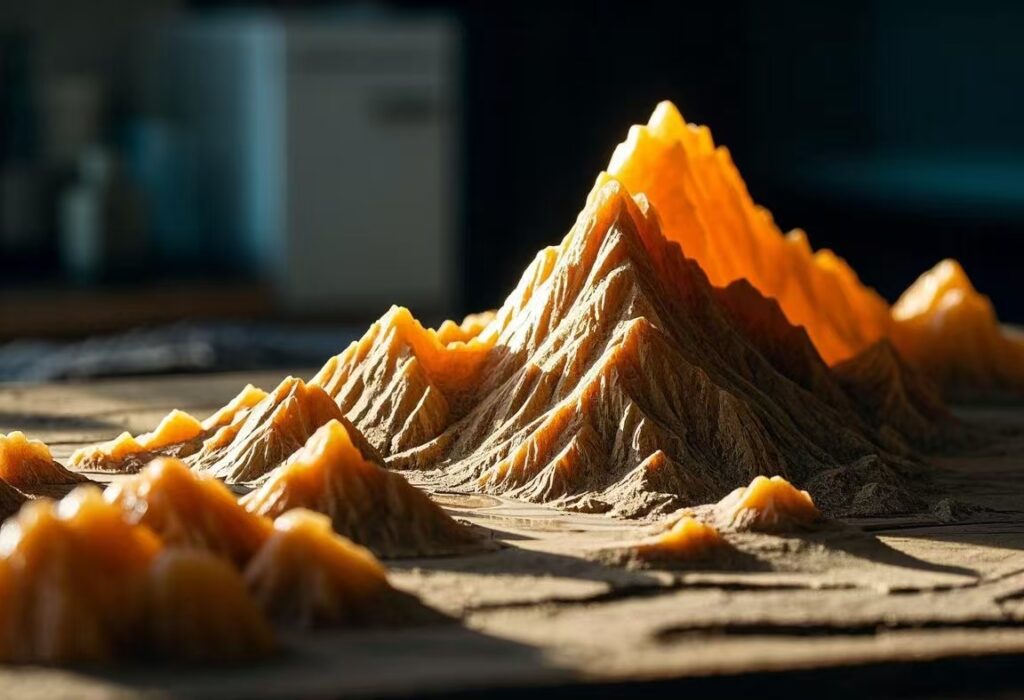
- Topographical Maps: Create resin pieces that mimic topographical maps of real-world landscapes or fantasy realms. Experiment with different colors and textures to bring the landscape to life.
- Jewelry and Accessories: Use smaller molds to create topographical earrings, pendants, or rings with intricate designs that capture the viewer’s attention.
- Functional Art: Design trays, coasters, or tables with raised textures to create functional yet artistic home decor.
- Sculptures: Larger topographical molds can be used for creating abstract sculptures or artwork that stand out in any space.
Tips for Success
- Work in Layers: For more complex designs, consider pouring the resin in layers, allowing each layer to cure before adding the next. This technique can help you achieve more intricate topographical features.
- Test Small First: If you’re new to resin casting, start with a small mold to test your skills before committing to larger projects.
- Experiment with Additives: Resin can be mixed with glitter, beads, or even flowers to create unique textures and visual effects in your molds.
Conclusion
Topographical resin molds offer a world of creative possibilities for crafting beautiful, textured pieces. Whether you’re designing stunning jewelry, home décor, or abstract sculptures, the versatility of these molds allows you to add your personal touch to every project. With the right materials and techniques, you can unlock endless creative potential and enjoy the satisfaction of creating unique, one-of-a-kind items that stand out.