Creating your own planting pots not only adds a personal touch to your home garden but also gives you the opportunity to repurpose materials and create unique, customized containers for your plants. Whether you’re a seasoned gardener or just starting out, making your own pots can be a fun and rewarding project. In this step-by-step tutorial, we will guide you through three different methods for creating your own plant pots at home using clay, cement, and repurposed containers.
Materials You’ll Need
- Clay Pot Method:
- Air-dry clay (or oven-bake clay for a more durable option)
- Rolling pin
- Craft knife or cutting tool
- Decorative items (optional, like beads, buttons, or ribbon)
- Cement Pot Method:
- Cement mix
- Water
- Plastic container (for mold)
- Cooking spray or Vaseline (for mold release)
- Gloves and safety mask
- Repurposed Container Method:
- Old containers (coffee cans, mason jars, plastic bottles, etc.)
- Decorative paint, fabric, or twine
- Scissors or utility knife
- Drill or nail (for drainage holes)
Step-by-Step Guide
1. Clay Pot Method
This method is great for creating lightweight, customizable pots with smooth surfaces. It’s ideal for small to medium-sized plants.
Step 1: Prepare the Clay
Start by kneading the air-dry clay until it’s soft and pliable. You can also use oven-bake clay for added durability. Roll the clay out using a rolling pin to about 1/4 inch thickness.
Step 2: Shape the Pot
Cut a circle out of the clay that will serve as the base of the pot. Then, roll the remaining clay into a strip and wrap it around the circle to form the sides of the pot. Smooth the seams using your fingers or a craft tool to blend the clay together.
Step 3: Let it Dry
Once the pot is shaped, let it dry for 24-48 hours, depending on the thickness of the clay. If you used oven-bake clay, follow the baking instructions on the packaging.
Step 4: Decorate
You can personalize your clay pot with paints, beads, buttons, or other embellishments. Add a waterproof sealant if you plan to use the pot outdoors.
2. Cement Pot Method
Cement pots are incredibly durable and make a perfect choice for larger plants or outdoor use.
Step 1: Prepare the Mold
Find two containers—one large enough to form the outer mold of your pot and one smaller one for the inner cavity. Plastic containers work well for this, but you can also use metal or rubber molds. Apply cooking spray or Vaseline to the interior of both molds to help remove the cement after it sets.
Step 2: Mix the Cement
Follow the instructions on the cement package to mix it with water. The consistency should be thick but spreadable. Use a stick or trowel to stir until smooth.
Step 3: Pour the Cement
Pour the mixed cement into the larger mold, filling it halfway. Then, press the smaller mold into the center to form the cavity for your plant. Hold it in place and let the cement set for several hours, ensuring it’s evenly distributed.
Step 4: Set and Finish
Allow the cement to harden completely for 24-48 hours. Once dried, carefully remove the molds. Sand the edges for a smoother finish, and optionally paint or decorate your pot.
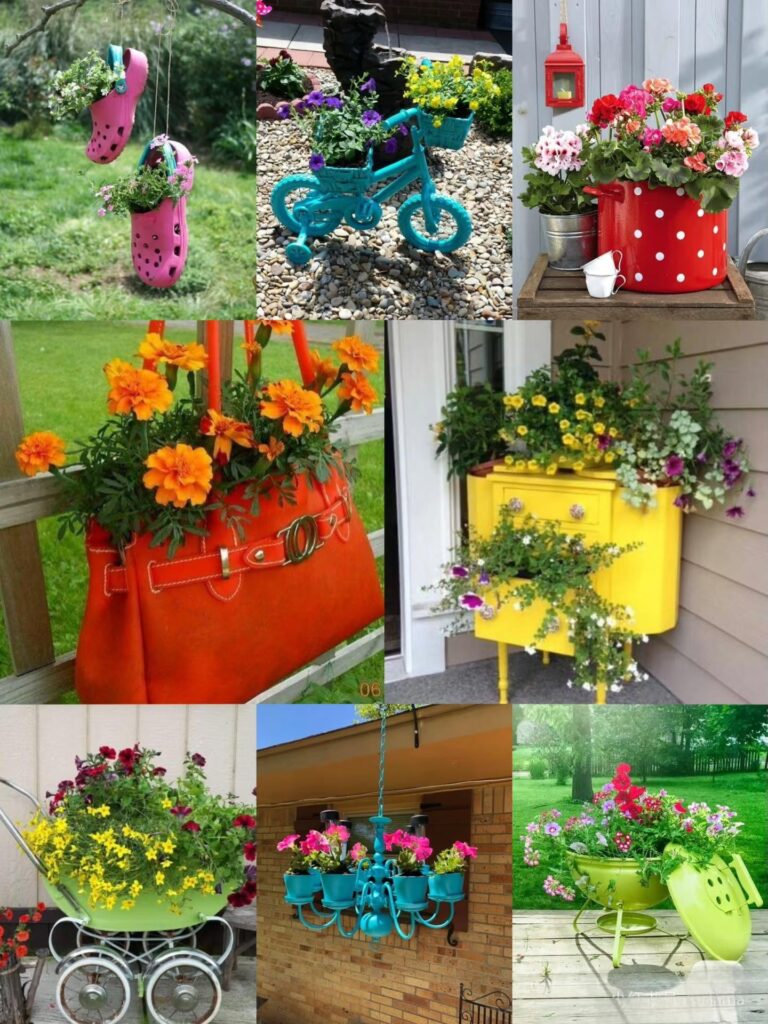
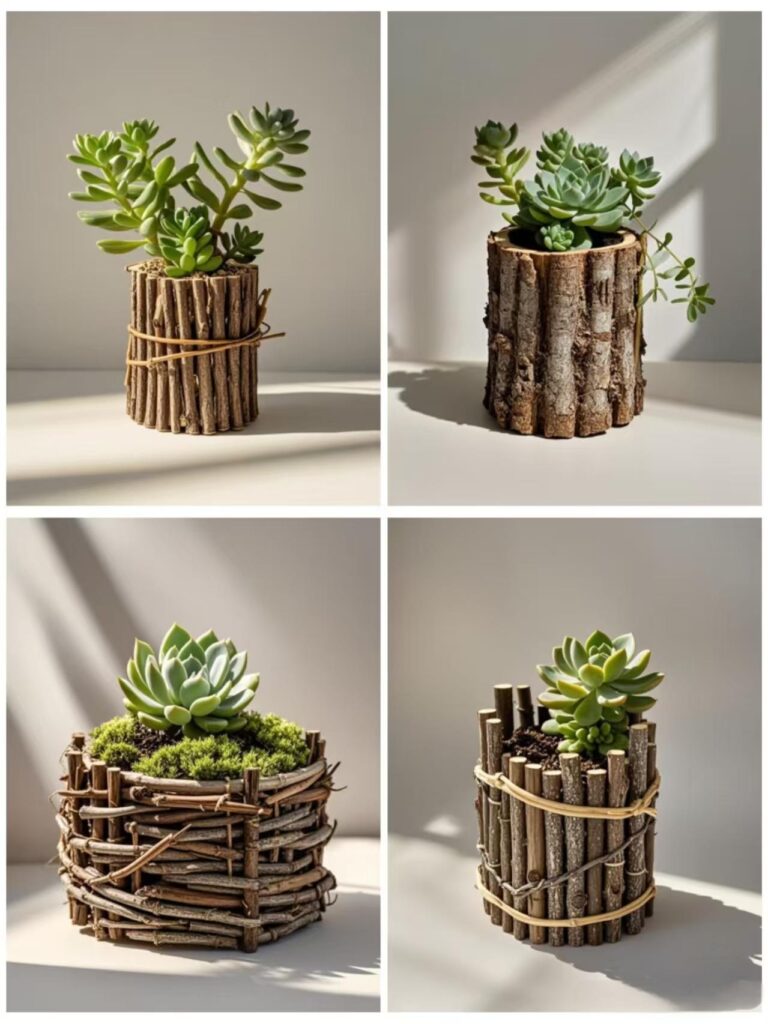
3. Repurposed Container Method
Using old containers is the most budget-friendly option, and it’s a perfect way to upcycle.
Step 1: Prepare the Container
Find any container you no longer use—coffee cans, mason jars, or plastic bottles work great. Make sure it’s clean and dry before moving forward.
Step 2: Create Drainage Holes
Use a drill or a nail to punch small holes in the bottom of the container. This will allow water to drain and prevent root rot in your plants.
Step 3: Decorate the Pot
Wrap the container with fabric, twine, or paint it to add a personal touch. You can also use stickers or paint patterns for extra flair. For a rustic look, wrapping twine around a mason jar can make for a stylish yet simple pot.
Step 4: Plant Your Greenery
Once the decoration is complete, fill the container with soil and plant your favorite flower, succulent, or herb.